
[ad_1]
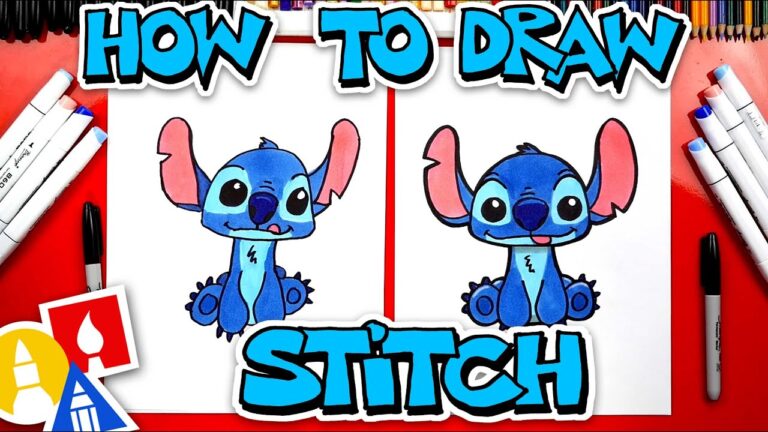
Okay, here’s a detailed guide on how to draw Stitch from Lilo & Stitch, breaking it down into manageable steps:
1. Basic Shapes and Proportions (The Blueprint):
- Head: Start with a slightly flattened circle. This will be the base for Stitch’s head. Don’t make it a perfect circle; it should be wider than it is tall.
- Body: Below the head, draw a smaller, pear-shaped oval for the body. It should overlap the bottom of the head slightly. The body is shorter than the head.
- Guidelines: Draw a vertical line down the center of the head and body. This helps with symmetry. Also, draw a horizontal line across the head to indicate where the eyes will go.
2. Defining the Head and Face:
- Snout/Muzzle: Add a rounded rectangular shape extending from the lower center of the head. This forms his snout. The end of the snout is slightly wider than where it connects to the head.
- Cheeks: Add curved lines on either side of the lower part of the head, where it meets the body. These form Stitch’s chubby cheeks.
- Eyes: Draw two large ovals on the horizontal guideline. They should be relatively close together and angled slightly upwards towards the outside.
- Nose: At the end of the snout, draw a small, rounded triangular shape for his nose. Color it in immediately for emphasis.
- Mouth: Below the nose, sketch a small, curved line for his mouth. This is just a guideline for now.
3. Adding Limbs and Ears:
- Ears: Stitch has very large ears. Draw two elongated oval shapes extending from the top of the head. They should be significantly larger than the head itself. They can be slightly angled outwards. The base of the ears should be wider than the tips.
- Arms: Draw two sausage-like shapes for the arms extending from the sides of the body. The arms should bend slightly. One arm can be positioned higher than the other. The hands can be indicated as simple rounded shapes for now.
- Legs: Draw two similar sausage-like shapes for the legs extending downwards from the body. They should be shorter and thicker than the arms. Indicate the feet as rounded shapes.
4. Refining the Facial Features:
- Eyes (Detailed): Within the ovals you drew for the eyes, add smaller circles for the pupils. Leave a small white highlight in each pupil to give them life. Add a slightly heavier line for the upper eyelid.
- Mouth (Detailed): Refine the mouth line, making it a bit more expressive. You can add a small tongue peeking out or a slightly mischievous grin.
- Nostrils: Add two small dots or tiny curved lines to the sides of the nose to represent the nostrils.
- Cheek Tufts: Draw small tufts of fur on his cheeks. These are small, triangular shapes that stick out slightly from the cheek line.
- Eyebrows: Add small, slightly angled lines above each eye to indicate eyebrows. These can add to his expression.
5. Defining the Body and Limbs:
- Claws/Fingers: Add small, triangular shapes at the end of the hands and feet to represent his claws. Stitch has four fingers/claws on each hand and foot.
- Belly: Define the line separating the chest from the belly. It’s a gentle curve.
- Spine/Back: Add a slight curve to the back to give it more definition.
6. Adding Details: Back Spikes and Chest Patch:
- Back Spikes: Draw three small triangular spikes down Stitch’s back, starting from the top of the body and going down towards the base. They get smaller as they go down.
- Chest Patch: Add a lighter colored patch on Stitch’s chest. This can be an oval shape, slightly lighter than the rest of his body.
7. Outlining and Erasing Guidelines:
- Outline: Using a darker line (or pressing harder with your pencil), trace over the final lines of your drawing. Make sure the outline is clean and clear. Vary the thickness of the lines to add depth (thicker lines on the bottom and sides, thinner lines on the top).
- Erase: Carefully erase all the initial guidelines and any stray marks.
8. Adding Color and Shading (Optional):
- Base Colors: Stitch is primarily a dark blue color. Use a lighter shade of blue for the chest patch.
- Shading: Add shading to give the drawing more dimension. Use darker shades of blue on the undersides of his body, arms, legs, and ears. Consider the direction of light when adding shadows.
- Highlights: Add small highlights to areas where the light would hit, such as the top of the head, shoulders, and nose.
Tips for a Good Stitch Drawing:
- Reference Images: Use reference images of Stitch from the movie or online. These will help you get the proportions and details correct.
- Light Sketching: Sketch lightly in the beginning. This makes it easier to erase mistakes and make corrections.
- Practice: Don’t be discouraged if your first attempt isn’t perfect. Keep practicing, and you’ll improve over time.
- Exaggerate Features: Stitch is a cartoon character, so feel free to exaggerate his features to make him more expressive.
- Pay Attention to Detail: The small details, like the cheek tufts and the back spikes, can really make your Stitch drawing stand out.
By following these steps, you should be able to create a recognizable and charming drawing of Stitch. Good luck!
[ad_2]