[ad_1]
Immediate Actions (First 24-48 Hours are Critical):
-
Power Off and Disconnect: Immediately disconnect the power adapter. Hold down the power button for 10-15 seconds to force a complete shutdown if the laptop is unresponsive. Remove the battery if it’s easily accessible and designed for user removal. Unplug all peripherals (USB drives, external hard drives, etc.).
-
Invert and Drain: Turn the laptop upside down to allow any trapped liquid to drain out. Open the laptop as much as possible (without forcing anything) to expose the internal components to air.
-
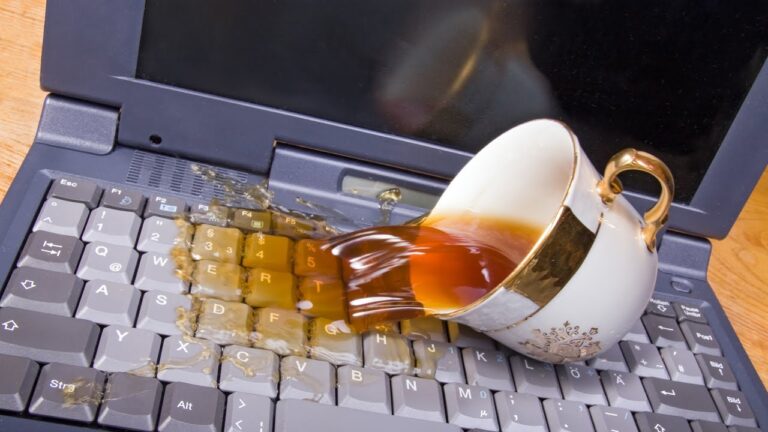
Assess the Liquid: Determine what type of liquid was spilled. Water is less damaging than sugary drinks, coffee, or alcohol because it’s purer. Corrosive liquids require more aggressive cleaning. Salt water is extremely corrosive and requires immediate action.
-
Do NOT Power On: Resist the urge to turn the laptop on to see if it still works. Powering on a wet laptop can cause short circuits and permanent damage.
- Avoid Using a Hair Dryer (Initially): While drying is essential, using a hair dryer on high heat can warp plastic components and potentially melt solder joints. If you must use a hair dryer, use it on the lowest, coolest setting, and keep it moving. Focus on surface drying.
Disassembly and Cleaning (Recommended if you are Comfortable with Electronics Repair):
-
Gather Tools: You’ll need a set of small screwdrivers (Phillips and possibly flathead), plastic opening tools (spudgers or guitar picks), isopropyl alcohol (90% or higher is best), a soft-bristled brush (toothbrush), lint-free cloths or paper towels, a container to hold screws, and a camera or phone to document the disassembly process (take pictures of each step to aid in reassembly).
-
Disassembly:
- Consult the laptop’s service manual if available online. Search for "[Laptop Model] Service Manual" on Google. These manuals provide detailed disassembly instructions.
- Start by removing the bottom panel. Screws are often hidden under rubber feet or stickers.
- Disconnect the battery (if you haven’t already).
- Systematically disconnect and remove components: Hard drive/SSD, RAM modules, wireless card, optical drive (if present), cooling system (heatsink and fan), motherboard, keyboard, trackpad, screen.
- Keep track of screws and their locations. Use a container with labeled sections to prevent confusion.
-
Cleaning:
- Isopropyl Alcohol Bath: Carefully clean the motherboard and other affected components with isopropyl alcohol and a soft-bristled brush. Focus on areas where liquid is visible or suspected. The alcohol helps to displace water and dissolve residues.
- Corrosion Removal: If there’s evidence of corrosion (greenish or white deposits), use a slightly more abrasive brush (but still gentle) and ensure the alcohol thoroughly saturates the affected areas.
- Connector Cleaning: Pay special attention to connectors (where cables plug in). Use a small brush or cotton swab dipped in alcohol to clean the pins.
- Drying: After cleaning, allow all components to air dry completely. This may take several hours or even a day. Ensure there’s good ventilation. You can use a low-heat fan to speed up the drying process. Do not reassemble until everything is completely dry.
-
Keyboard Cleaning:
- Keyboards are particularly susceptible to liquid damage.
- Remove the keycaps (use a keycap puller if available, or gently pry them off with a small screwdriver).
- Clean the keycaps and the keyboard membrane with isopropyl alcohol.
- Allow everything to dry completely before reassembling.
- Inspect for Damage: Look for burned components, swollen capacitors, or broken traces on the motherboard. These can be difficult to repair and may require professional attention.
Reassembly and Testing:
-
Reassembly: Carefully reassemble the laptop, following the reverse order of disassembly. Refer to your photos and notes. Make sure all connectors are properly seated and all screws are tightened.
-
Initial Power-On (Without the Battery Initially): Connect the power adapter and try to turn on the laptop. Observe for any signs of smoke, unusual smells, or error messages. If anything seems wrong, immediately disconnect the power.
- Testing:
- If the laptop powers on successfully, check the display, keyboard, trackpad, Wi-Fi, and other essential functions.
- Install the battery and test its charging capability.
- Run diagnostics to check the hard drive/SSD, RAM, and other hardware components.
Professional Repair:
If you are not comfortable disassembling and cleaning the laptop, or if the damage is severe, take it to a professional repair shop. Be honest about the liquid spill and what you’ve already tried to do. They may have specialized equipment and expertise to diagnose and repair the damage. They can perform micro soldering, board level repairs and component replacement if it is required.
Important Considerations:
- Rice is Not a Good Solution: Placing a wet laptop in rice is not an effective way to dry it. Rice can trap moisture and dust, and it doesn’t address the residues left by the liquid. It might give you a false sense of security while corrosion continues to occur.
- Warranty: Water damage typically voids the warranty.
- Data Recovery: If the laptop is not repairable, focus on data recovery. A professional data recovery service may be able to retrieve data from the hard drive/SSD.
- Prevention: Consider using a keyboard protector or a waterproof laptop bag to prevent future spills.
Specific Component Considerations:
- Motherboard: The most critical component. Requires thorough cleaning and inspection. Corrosion here is often fatal if not addressed quickly.
- Keyboard: Often the first point of entry for liquids. Sticky keys or non-functional keys are common symptoms.
- Battery: Can be dangerous if wet. Dispose of it properly if it’s been exposed to liquid.
- Screen: Water can seep into the screen layers, causing permanent damage.
- Hard Drive/SSD: Usually sealed, but still susceptible to damage if liquid gets inside.
By following these steps, you increase the chances of successfully repairing a water-damaged laptop. However, there’s no guarantee of success, and in some cases, the damage may be irreparable.
[ad_2]

