
[ad_1]
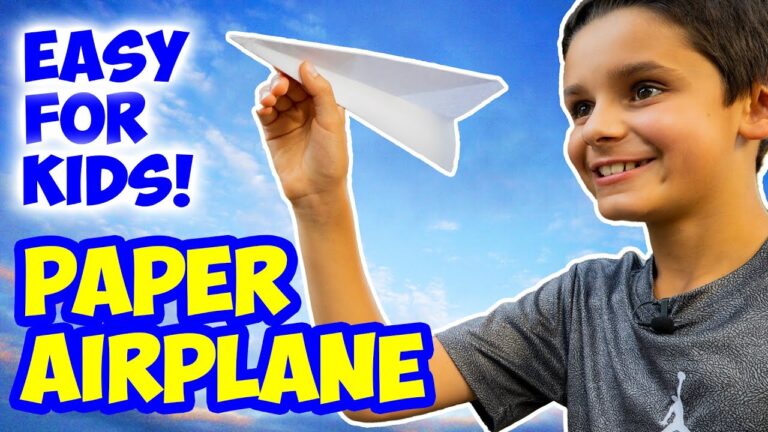
How to Make a Paper Airplane!! – (Easy for Kids!)
This guide will walk you through creating a simple and effective paper airplane that’s easy for kids to make. We’ll focus on a classic design that’s known for its stability and relatively long flight.
Materials Needed:
- One sheet of rectangular paper (standard 8.5 x 11 inch printer paper is perfect)
Step-by-Step Instructions:
-
The First Fold (Creating the Center Crease):
- Lay the paper on a flat surface horizontally (landscape orientation).
- Carefully fold the paper in half lengthwise, bringing the top edge to meet the bottom edge.
- Make a sharp, distinct crease down the center of the paper. This is crucial for the symmetry and flight performance of your airplane.
- Unfold the paper. You should now have a visible crease running down the middle.
-
Folding the Top Corners (Creating the Nose):
- Take the top right corner of the paper.
- Fold it down towards the center crease, aligning the edge of the paper with the crease. The point of the corner should meet precisely at the center crease.
- Make a sharp crease along this fold.
- Repeat this process with the top left corner. Fold it down to meet the center crease, ensuring the fold is symmetrical to the first one.
- You should now have a pointed shape at the top of your paper, resembling the nose of an airplane.
-
Folding the Top Edges Again (Refining the Nose):
- Take the top right edge (that you just folded down in step 2).
- Fold it down again towards the center crease. This fold should start at the newly formed edge and go towards the center crease. Aim for the edge of the fold to roughly align with the center crease, but it doesn’t have to be exact. Symmetry is more important than perfect alignment at this stage.
- Make a sharp crease.
- Repeat this process with the top left edge, folding it down towards the center crease. Try to match the angle and position of this fold to the right side fold as closely as possible.
- Make a sharp crease. The nose of your airplane should now be more pointed and streamlined.
-
Folding the Plane in Half (Forming the Body):
- Fold the entire paper airplane in half along the original center crease. This time, fold it so that the folded nose sections are on the outside.
- Make a sharp crease along the center line. This will define the body of your airplane.
-
Folding the Wings (Creating Lift):
- Lay the folded airplane on its side.
- Take the top edge of the plane (one layer of paper) and fold it down to create a wing. The wing should start at the bottom edge of the body and extend outwards. The width of the wing is a matter of preference, but a good starting point is to fold down about an inch to an inch and a half (2.5 – 3.8 centimeters). Experiment to find what works best.
- Make a sharp crease along the wing fold.
- Flip the airplane over.
- Repeat the process on the other side, folding the top edge down to create the second wing. Try to make this wing as symmetrical as possible to the first wing. This is vital for the plane’s balance and stable flight.
- Make a sharp crease.
-
Optional: Wing Flaps (For Stability and Control):
This step is optional but can enhance the plane’s performance.
*At the rear of each wing, gently fold up a small flap along the trailing edge (the back edge of the wing). A quarter inch (0.6 centimeters) is usually sufficient. These flaps, or "ailerons," can help to stabilize the plane’s flight. You can adjust the size of these flaps later to fine-tune the flight path. For example, bending one flap up slightly more than the other can cause the plane to turn. -
Test Flight and Adjustments:
- Hold the airplane in the middle of the body, underneath the wings.
- Throw the airplane gently, aiming straight ahead and slightly upwards.
- Observe the flight. If the plane dives quickly, try bending the trailing edges of the wings upwards slightly more. If the plane stalls and climbs too steeply, try bending the trailing edges of the wings downwards slightly.
- Experiment with different throwing techniques and wing adjustments to find what works best for your airplane.
Tips for Success:
- Sharp Creases are Key: Ensure that all your folds are sharp and well-defined. This will improve the plane’s aerodynamics and stability.
- Symmetry Matters: Pay close attention to symmetry throughout the construction process. Asymmetrical wings can cause the plane to veer off course.
- Experiment with Wing Size: The size of the wings can affect the plane’s flight characteristics. Larger wings provide more lift, but also more drag. Smaller wings provide less lift, but also less drag.
- Adjustments: Don’t be afraid to make small adjustments to the wings and flaps to fine-tune the plane’s flight path.
- Practice: Like any skill, making good paper airplanes takes practice. Keep experimenting and you’ll improve over time!
[ad_2]