
[ad_1]
Hydrating floral foam, also known as OASIS or florist foam, properly is crucial for the longevity and success of your floral arrangements. Here’s a detailed guide on how to do it:
1. Choosing the Right Container:
- Select a container larger than the foam brick you intend to hydrate. This will allow the foam to fully submerge and expand as it absorbs water.
- The container should be clean to prevent introducing bacteria into the water that could harm the flowers. A bucket, sink, or large tub works well.
- Avoid using metal containers, as they can react with floral preservatives.
2. Preparing the Water:
- Use cool water, not ice-cold or warm. Cool water is absorbed most effectively by the foam.
- Add floral preservative to the water. This is a crucial step. Floral preservatives contain:
- Sugar: Provides a food source for the flowers.
- Acidifier: Helps lower the pH of the water, making it easier for flowers to absorb.
- Biocide: Controls bacterial growth, extending the life of the flowers.
- Follow the instructions on the floral preservative package for the correct ratio of preservative to water. Too much can be harmful, while too little won’t be effective.
- Stir the water and preservative mixture gently to ensure it is well-dissolved.
3. Hydrating the Foam:
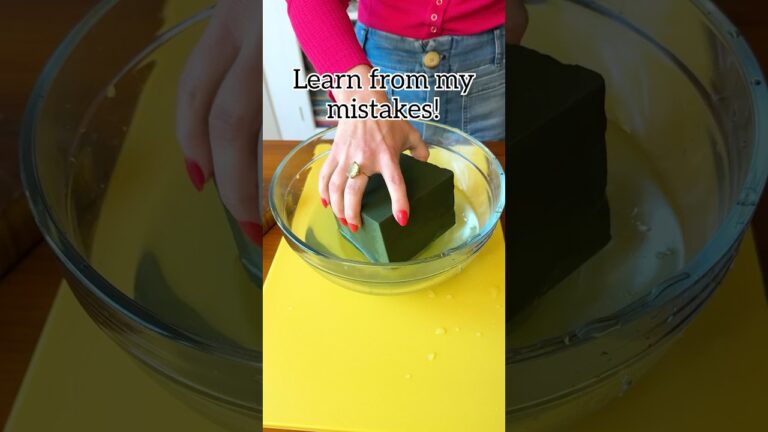
- Gently Place the Foam: Place the floral foam brick on top of the water solution. Do not force it under the water. Let it float freely.
- Allow Natural Saturation: The foam needs to saturate naturally. Forcing it under can create dry pockets inside, leading to premature wilting of flowers.
- Observe the Sinking: The foam will gradually absorb water and sink on its own as it becomes heavier. This process usually takes around 20-30 minutes, depending on the size and density of the foam.
- Ensure Full Saturation: Once the foam has sunk completely, leave it submerged for a few more minutes to ensure it’s fully saturated throughout. The color of the foam will change to a darker green when it’s fully hydrated.
- Check for Dry Spots: If you’re unsure, gently lift the foam (supporting it from underneath) and feel its weight. It should feel heavy and completely saturated.
4. Handling After Hydration:
- Remove Excess Water: Carefully lift the saturated foam from the water. Gently tilt it to allow excess water to drain off. Avoid squeezing the foam, as this can damage its structure and reduce its water-holding capacity.
- Secure the Foam: Place the saturated foam into your chosen container for your arrangement. Use floral tape (waterproof tape designed for floral use) to secure the foam to the container. Create a grid pattern with the tape across the top of the foam and the container’s rim. This will prevent the foam from shifting or lifting out when you insert the flowers.
- Trimming (If Necessary): If the foam is too large for your container, use a sharp floral knife to trim it to the desired size after it’s been hydrated.
- Maintain Hydration: Once the arrangement is complete, regularly check the water level in the container. Add fresh water with floral preservative as needed to keep the foam saturated. You can use a watering can with a narrow spout to direct water into the foam.
Important Considerations:
- Foam Density: Floral foam comes in different densities for different types of arrangements. Softer foam is better for delicate stems, while denser foam is suitable for heavier stems.
- Rehydration: You can rehydrate floral foam, but its water-holding capacity decreases with each use. It’s generally best to use fresh foam for each arrangement for optimal results.
- Environmental Impact: Floral foam is not biodegradable. Consider using alternative floral design techniques that don’t rely on foam, such as using chicken wire or a pin frog.
- Dry Spots: Dry spots in the foam are a common problem. Always allow the foam to saturate naturally, and if you suspect dry spots, gently inject water into those areas using a syringe or small watering can.
- Water Quality: Use clean, filtered water whenever possible. Hard water or water with high mineral content can clog the foam and reduce its effectiveness.
- Stem Preparation: Cut flower stems at an angle underwater before inserting them into the foam. This helps prevent air bubbles from forming and allows the flowers to hydrate more efficiently.
By following these steps, you can ensure that your floral foam is properly hydrated, providing your flowers with the water and nutrients they need to thrive, resulting in beautiful and long-lasting floral arrangements.
[ad_2]