
[ad_1]
Okay, here’s a breakdown of how one might craft a Demon Slayer glowing keychain, pieced together from general crafting knowledge and observations based on the title keywords:
I. Materials:
- Clear Resin (Epoxy or UV): This forms the transparent body of the keychain and allows the glow to be visible. Epoxy resin is typically a two-part system that needs careful mixing and curing time. UV resin cures rapidly under a UV lamp.
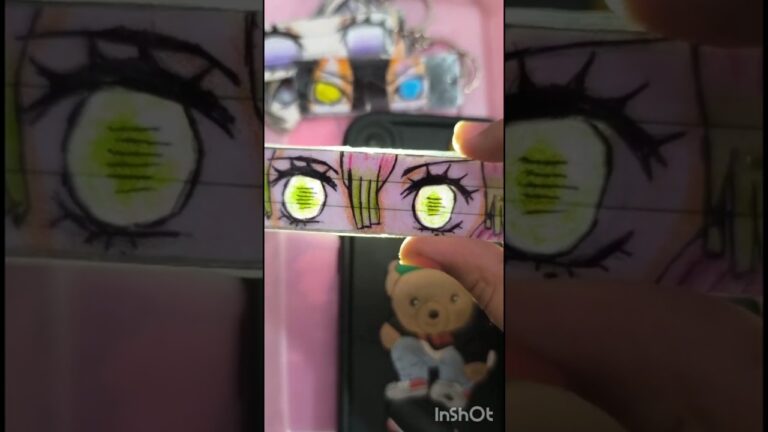
- Resin Pigments or Dyes: These add color to the resin background. Colors related to Demon Slayer characters (e.g., red/yellow for Tanjiro, green for Zenitsu, pink for Nezuko) are likely choices.
- Glow-in-the-Dark Powder or Pigment: This is the crucial element for the glowing effect. Strontium aluminate-based powders tend to have a brighter and longer-lasting glow than zinc sulfide-based powders. Different colors of glow powder are available (green, blue, aqua are common).
- Mold: A silicone mold in the shape of a Demon Slayer character, logo (the Demon Slayer Corps symbol), or a related object (e.g., Tanjiro’s sword hilt). The mold needs to be appropriate for resin casting.
- Keychain Hardware: This includes a keychain ring, a jump ring to connect the charm to the ring, and potentially an eye pin or small screw eye to embed into the resin charm for attaching the jump ring.
- Demon Slayer Character Images/Cutouts (Optional): Small printed images of characters, logos, or patterns can be embedded within the resin for added detail. These could be printed on clear acetate or thin paper.
- Glitter or Confetti (Optional): For adding sparkle or visual texture to the resin.
- Mixing Cups and Stir Sticks: For measuring and mixing the resin components.
- Heat Gun or Lighter (for Epoxy Resin): To remove bubbles from the resin.
- UV Lamp (for UV Resin): To cure the UV resin.
- Sandpaper (Various Grits): For smoothing any rough edges or imperfections on the cured resin.
- Polishing Compound and Cloth: For achieving a glossy finish on the resin.
- Protective Gear: Gloves (to protect skin from resin), and a mask (to avoid inhaling resin fumes or powder).
- Precision Scale: Recommended for accurately measuring resin and hardener for epoxy resin.
II. Tools:
- Scissors or Craft Knife: For cutting out images or trimming edges.
- Tweezers: For precisely placing small elements within the resin.
- Drill (Optional): A small drill with appropriate bits might be needed for creating a hole if the mold doesn’t have one or if an embedded eye pin is not used.
- Pliers: For opening and closing jump rings.
- Toothpicks or Skewers: For arranging elements in the resin and popping bubbles.
III. Steps (General Process):
-
Prepare the Mold: Ensure the mold is clean and free of dust or debris. A mold release agent (silicone spray) could be used, though silicone molds usually release resin easily.
-
Prepare Resin Mixture:
- Epoxy Resin: Carefully measure and mix the resin and hardener according to the manufacturer’s instructions. Stir slowly to minimize bubble formation.
- UV Resin: No mixing is required (ready to use).
-
Add Pigments and Glow Powder: Add resin pigments or dyes to achieve the desired background color. Then, add the glow-in-the-dark powder. The amount of glow powder will affect the brightness of the glow. Stir thoroughly to disperse the pigment and powder evenly.
-
Layer the Resin (Optional): Depending on the desired effect, you can pour the resin in layers, allowing each layer to partially cure before adding the next. This can be used to create depth or suspend objects at different levels.
-
Embed Images/Cutouts (Optional): Carefully place the Demon Slayer character images, logos, or other cutouts into the resin. Use tweezers to position them precisely. If using paper, seal it with Mod Podge or a similar sealant to prevent the resin from soaking into the paper and making it translucent.
-
Pour Resin into Mold: Carefully pour the resin mixture into the mold. Avoid overfilling.
-
Remove Bubbles:
- Epoxy Resin: Use a heat gun or lighter to gently pass over the surface of the resin. The heat will cause the bubbles to rise and pop. Be careful not to overheat the resin, as this can cause it to cure too quickly or yellow.
- UV Resin: A quick pass with a heat gun can also help reduce surface bubbles.
-
Cure the Resin:
- Epoxy Resin: Allow the resin to cure for the recommended time according to the manufacturer’s instructions (usually 24-72 hours).
- UV Resin: Cure the resin under a UV lamp for the recommended time (usually a few minutes per layer).
-
Demold the Keychain: Once the resin is fully cured, carefully remove it from the mold.
-
Sanding and Polishing (If Necessary): If there are any rough edges or imperfections, sand them down using progressively finer grits of sandpaper. Wet sanding is often recommended. After sanding, polish the resin with polishing compound and a soft cloth to restore the shine.
-
Attach Keychain Hardware: If necessary, drill a small hole for attaching the keychain ring. Attach the jump ring to the charm (either through the hole or to an embedded eye pin) and then attach the keychain ring to the jump ring.
- Charge the Glow: Expose the keychain to a light source (sunlight or a bright lamp) to charge the glow-in-the-dark powder.
IV. Considerations for Demon Slayer Theme:
- Character Color Schemes: Use resin pigments that match the color schemes of the Demon Slayer characters you want to represent.
- Character Silhouettes: Consider using black resin to create silhouettes of characters against a glowing background.
- Symbolism: Incorporate elements that are symbolic of the series, such as the Demon Slayer Corps symbol, the patterns on character clothing, or miniature versions of their weapons.
- Nezuko’s Bamboo Muzzle: A miniature representation of this could be a unique keychain design.
V. Troubleshooting:
- Bubbles: Slow stirring, a heat gun, and pressure pots (for advanced resin casting) can help minimize bubbles.
- Tacky or Uncured Resin: Ensure proper mixing ratios for epoxy resin and sufficient UV exposure for UV resin.
- Yellowing: Use UV-resistant resin to prevent yellowing over time.
- Cloudy Resin: Thorough mixing and proper curing can help prevent cloudiness.
This provides a comprehensive guide based on the limited information available. The specific techniques and materials used may vary depending on the desired outcome and the creator’s personal preferences.
[ad_2]