
[ad_1]
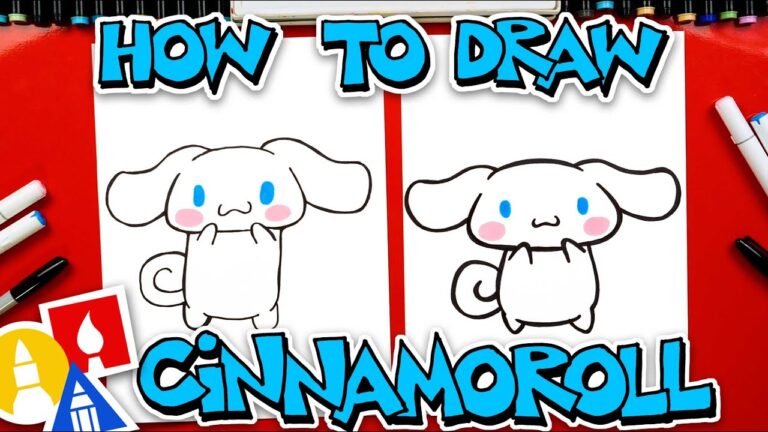
Okay, here’s a step-by-step guide on how to draw Cinnamoroll from Hello Kitty:
I. Basic Head Shape and Guidelines
-
Start with a Circle: Lightly draw a circle. This will be the base of Cinnamoroll’s head.
- Guidelines: Draw a vertical line dividing the circle in half. Then draw a horizontal line across the circle, slightly below the middle. These lines will help you position the facial features.
II. Refine the Head Shape
-
Cheeks: Slightly flatten the bottom of the circle on both sides to create the cheeks. Cinnamoroll has chubby cheeks, so don’t make the flattening too extreme.
- Top of Head: Smooth out the top of the circle. It should be a gentle curve.
III. Facial Features
-
Eyes: Draw two small, oval-shaped eyes. They should be positioned on either side of the vertical guideline, above the horizontal guideline. Leave a small gap between the eyes.
-
Pupils: Inside each eye, draw a small, dark oval for the pupil. Add a tiny white dot or reflection in each pupil to give them life.
-
Mouth: Draw a small, simple U-shaped mouth below the eyes, centered on the vertical guideline.
-
Nose: Draw a small oval for the nose just above the mouth and centered vertically.
- Cheeks(Optional): Lightly add two small ovals/circles below the eyes on either side of the mouth.
IV. Ears
-
Ears Outline: Cinnamoroll’s ears are very large and floppy. Starting from the top of the head on either side, draw a long, curved line that comes down well past the bottom of the head. The ears should be quite wide and rounded. Think of a curved rectangle with rounded edges. Make each ear slightly different in shape to add character.
- Ears Detail: Add a slight curve on the inside of each ear to define the ear flap. These interior lines shouldn’t be perfectly symmetrical.
V. Body
-
Body Outline: Draw a small, oval-shaped body extending down from the bottom of the head. The body should be smaller than the head.
-
Legs: Add two small, slightly rounded rectangles for the legs at the bottom of the body. They should be close together.
-
Arms: Draw two short, stubby arms extending out from the sides of the body. They can be slightly curved.
- Tail: Draw a small, curled tail at the back of the body. It’s shaped like a cinnamon roll, hence the name! It can be a simple spiral shape.
VI. Refining and Detailing
-
Outline: Go over your initial sketch with a darker line to create a clean outline.
-
Erase Guidelines: Erase the initial circle and guidelines you drew.
- Details (Optional):
- Add a light blush to Cinnamoroll’s cheeks.
- Add some fur texture by drawing short, light strokes along the edges of the body, head, and ears.
- You can draw Cinnamoroll holding a small item, like a star or a heart.
- Add a collar if desired.
VII. Coloring
- Coloring: Cinnamoroll is primarily white. You can use a light gray or very pale blue to shade the ears, body, and head to give him dimension. Color the nose pink.
VIII. Tips
- Light Sketching: Keep your initial sketch lines light so they are easy to erase.
- Proportions: Pay attention to the proportions. Cinnamoroll’s head is large compared to his body, and his ears are very long.
- Practice: Don’t be discouraged if your first attempt isn’t perfect. Practice makes perfect!
- Reference Images: Use reference images of Cinnamoroll to guide you.
That covers the process of drawing Cinnamoroll. Good luck!
[ad_2]