
[ad_1]
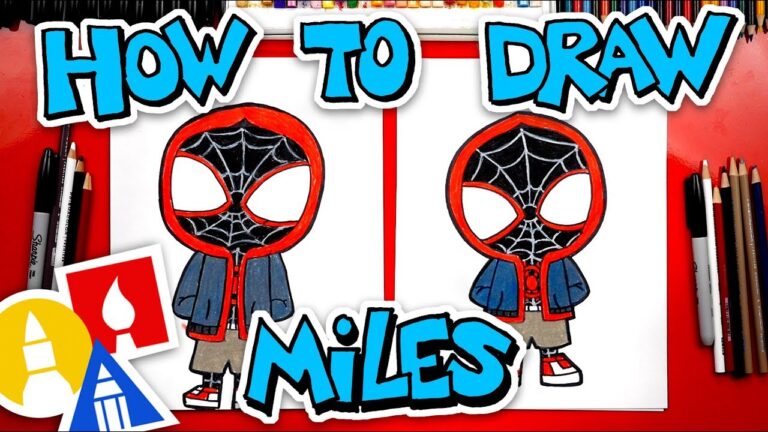
How to Draw Miles Morales: A Step-by-Step Guide
This guide will cover how to draw Miles Morales in a dynamic pose, referencing his classic Spider-Man costume.
I. Basic Construction & Anatomy:
-
Gesture: Start with a quick gesture drawing to capture the pose’s energy. Use light, flowing lines to indicate the spine’s curve, the direction of the limbs, and the overall balance of the figure. Think about the action you want to portray (e.g., swinging, crouching, leaping).
-
Basic Shapes: Break down the body into simple geometric shapes.
- Head: An oval or circle for the head.
- Torso: A slightly tapered rectangle or capsule shape for the torso. Tilt it to match the spine’s curvature from the gesture.
- Pelvis: Another, smaller rectangle or oval for the pelvis, connected to the torso.
- Limbs: Cylinders or sausages for the upper and lower arms and legs. Use spheres or ovals for the joints (shoulders, elbows, knees, wrists, ankles).
-
Proportions: Keep in mind basic human proportions:
- The head is about 1/7 or 1/8 of the overall body height. Superhero proportions often exaggerate this slightly.
- Shoulders are generally wider than the hips.
- The length from the shoulder to the elbow is roughly equal to the length from the elbow to the wrist. Same goes for the leg.
- Refine the Construction: Begin to flesh out the shapes, adding more detail to define the muscles and contours.
- Shoulders: Connect the arms to the torso using the shoulder muscles.
- Arms: Suggest the biceps, triceps, and forearm muscles.
- Chest and Abdomen: Define the chest and abdominal muscles, but keep them subtle under the costume.
- Legs: Shape the thighs, calves, and knees.
- Hands and Feet: Sketch in simplified versions of the hands and feet. Don’t worry about intricate detail yet.
II. Costume Details:
-
Mask: Draw the basic shape of the mask, covering the head but leaving room for the neck.
-
Eye Lenses: Sketch the distinctive white eye lenses. Their shape varies, but they often have an angular, slightly aggressive look. Consider the angle of the head and perspective when drawing them.
-
Web Pattern: Lightly sketch the basic web pattern across the costume. Miles Morales’ costume has a unique web pattern that isn’t symmetrical like Peter Parker’s. Pay close attention to reference images. The webs extend from the head down to the rest of the body.
-
Torso Design: Miles’ costume typically has a red spider emblem on the chest and back. Sketch a basic shape for this now. It’s usually stylized and angular.
-
Glove and Boot Details: Add details to the gloves and boots, such as the raised patterns or armored sections.
- Hoodie (Optional): If you want to draw Miles with his hoodie, sketch its basic shape around the head and shoulders. The hoodie’s drawstring is a simple detail to add.
III. Refining the Line Art:
-
Clean Up: Erase the initial construction lines, leaving only the refined sketch.
-
Line Weight: Vary the line weight to create visual interest and depth. Thicker lines can emphasize outlines and areas in shadow. Thinner lines can be used for details and areas in light. For example, use thicker lines on the side of the body further from the light source.
-
Costume Texture: Add subtle texture to the costume using hatching or cross-hatching. This can suggest the material’s weave and add depth.
-
Spider Emblem Details: Refine the spider emblem, adding details and making it more defined.
-
Lens Details: Add subtle details to the eye lenses, such as a slight bevel or reflective highlight.
- Web Shooters: If showing the web shooters, include the details on his wrists.
IV. Shading and Rendering:
-
Light Source: Determine the direction of the light source.
-
Basic Shadows: Add basic shadows to define the form. Areas that are turned away from the light will be in shadow.
-
Core Shadows: Darken the core shadows (the darkest part of the shadow) to add more depth. These are often found on the opposite side of the highlight.
-
Highlights: Add highlights to areas that are directly hit by the light.
-
Cast Shadows: Add cast shadows to the ground or any other surfaces the figure is interacting with.
- Rendering Techniques:
- Hatching and Cross-Hatching: Use parallel lines (hatching) or intersecting lines (cross-hatching) to create tonal variations.
- Stippling: Use dots to create tonal variations.
- Blending: Smooth out the shading for a softer look (can be done with digital tools or blending stumps for traditional media).
- Cell Shading: Use distinct areas of light and shadow with hard edges (common in comic book art).
V. Color (Optional):
-
Base Colors: Fill in the base colors of the costume (red, black, and white).
-
Shadow Colors: Choose slightly darker shades of the base colors for the shadows.
-
Highlights: Add highlights using lighter shades of the base colors or slightly desaturated colors.
- Rim Lighting: Consider adding rim lighting (a bright highlight along the edge of the figure) to separate it from the background.
Tips and Considerations:
- Reference Material: Use plenty of reference images of Miles Morales, his costume, and dynamic superhero poses.
- Anatomy: Study basic anatomy to understand the underlying structure of the figure.
- Practice: Practice drawing different poses and angles.
- Exaggeration: Don’t be afraid to exaggerate features and proportions to create a more dynamic and heroic look.
- Experiment: Try different shading and rendering techniques to find what works best for you.
- Costume Variations: Be aware that Miles’ costume has undergone minor variations over time, so choose a version you like and stick with it.
- Style: Develop your own style. Don’t be afraid to experiment with different line weights, shading techniques, and color palettes.
By following these steps and practicing consistently, you can learn to draw Miles Morales in a dynamic and compelling way.
[ad_2]